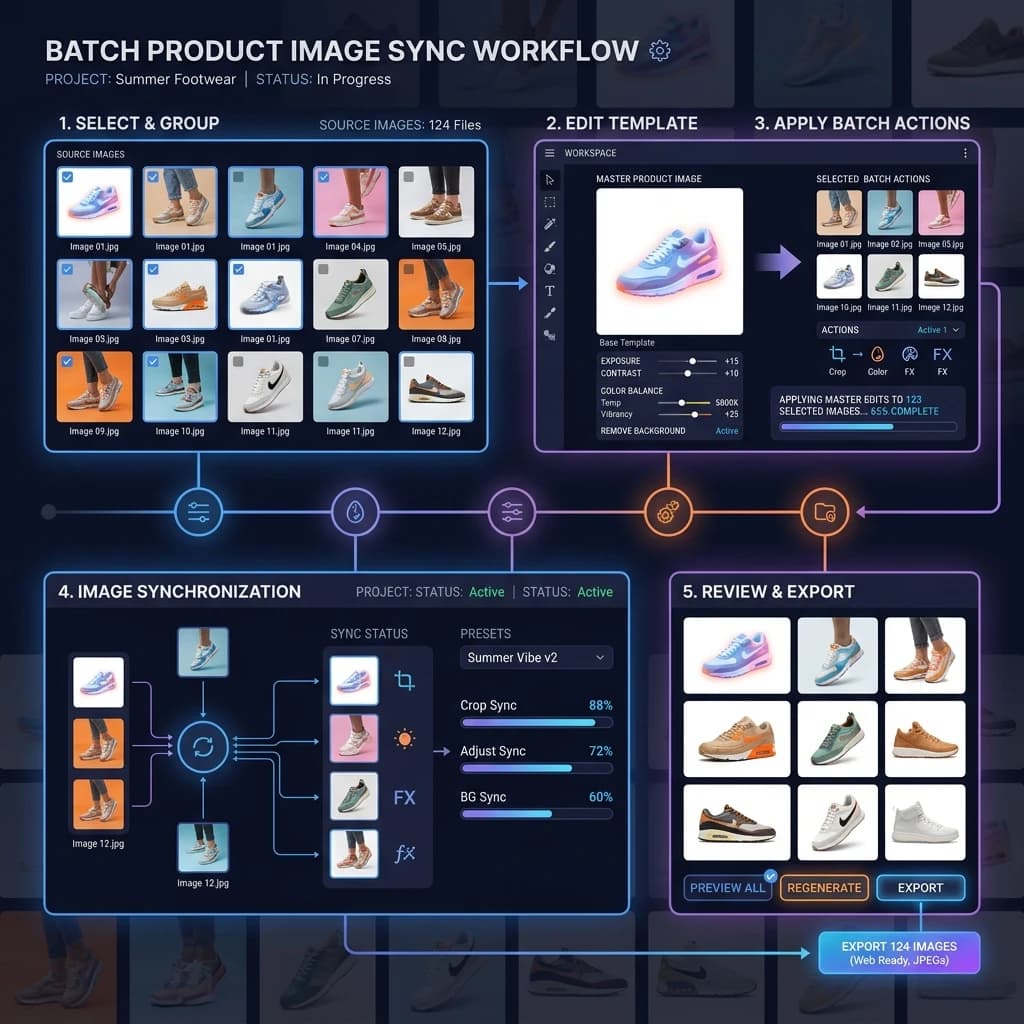
Photograph 500 products over three separate shooting days without a batch workflow and you'll end up with 500 images that look like they came from three different studios. The background shifts slightly. The colour temperature drifts between sessions. The shadow falls in a different direction by day three. Batch editing isn't just about speed — it's about visual consistency across an entire catalog, which is the single most important factor in how a brand reads at first scroll. Here's the complete workflow, from camera setup through final export, including the bottlenecks that can't be fully batched and the point at which outsourcing becomes the rational decision.
Why Batch Consistency Matters
E-commerce conversion research consistently shows that catalog inconsistency — images that don't share the same colour temperature, background tone, or crop proportion — signals an unprofessional brand to shoppers before they've read a single word of product copy. It's a trust signal operating below conscious awareness: a grid of mismatched product images reads as disorganised, even to buyers who couldn't articulate why they bounced. Batch editing enforces a single visual standard across every image in the catalog, regardless of how many days the shoot spanned or how many photographers were involved.
Step 1: Shoot with Consistent Settings
Batch editing can correct a lot, but it can't fix upstream inconsistency efficiently. The most cost-effective place to enforce consistency is at capture, not in post. Before the shoot begins, lock down:
- ISO. Use the lowest native ISO your camera supports (typically ISO 100 or 200) and don't vary it. Varying ISO between shots introduces different noise patterns that no batch adjustment can uniformly remove.
- Colour temperature. Set a fixed Kelvin value — don't leave it on Auto White Balance. AWB drifts shot to shot depending on what's in the frame, which defeats the entire purpose of a batch workflow. Set it once, write it down, and use the same value for every session in the same location.
- Aperture and focus distance. Standardise the camera-to-subject distance and use the same aperture. Depth of field inconsistencies — some products sharp to the edge, others with a soft falloff — look intentional only when they're actually intentional.
- Lighting power and position. Mark strobe positions on the floor with tape. Use a light meter to verify output is consistent between sessions, not just within a single shoot day.
The more consistent the capture, the smaller the post-production lift — and the more reliably a Lightroom sync or Photoshop Action can be applied without manual exceptions.
Step 2: Lightroom or ACR Batch Develop
With RAW files imported, the batch develop workflow in Lightroom (or Camera Raw for a Photoshop-native pipeline) works as follows:
- Edit a single master image until it matches the visual standard you're targeting: exposure, white balance, contrast, highlight recovery, shadow lift, and any lens correction profiles.
- In Lightroom, select all images from the same session, then use Sync Settings to apply the master edit across all selected images — choosing which settings to sync and which to leave per-image (exposure often needs per-image adjustment; white balance usually doesn't).
- Review the synced batch at 1:1 magnification for any exposures that fell outside the range the sync handles cleanly. Flag those for individual adjustment before export.
- Save the master settings as a preset for future shoots in the same environment, so the starting point for the next session is already dialled in rather than rebuilt from scratch.
This step alone — if the capture was consistent — can bring 80–90% of a shoot's images to a publishable standard with no individual image work at all.
Step 3: Photoshop Actions and Droplets for Repetitive Tasks
Tasks that go beyond global tonal adjustments — background removal, resizing, canvas extension, watermarking, sharpening for web — are handled most efficiently through Photoshop Actions and Droplets:
- Actions record a sequence of steps in Photoshop (flatten, convert to sRGB, resize to 2000×2000, save as JPEG at quality 85) that can be replayed against any open image with a single keystroke.
- Droplets wrap an Action into a standalone application icon: drag a folder of files onto the Droplet and Photoshop runs the Action against every file automatically, without opening each one manually.
- For background removal at scale, Actions can apply a subject selection and mask creation step, but complex products — items with fine strands, transparent elements, or irregular edges — will generate inaccurate masks that require manual review. Our background removal service handles this review step as part of its production workflow, which is where fully automated batch background removal tends to break down.
Step 4: Naming Conventions — SKU-Based Filenames
File naming is invisible until it becomes a problem — at which point it's an expensive problem. A folder of images named IMG_0001.jpg through IMG_2847.jpg with no connection to actual SKUs means every image needs to be manually identified and renamed before it can be uploaded to any marketplace system. SKU-based filenames eliminate that step entirely:
- Format:
[SKU]-[angle]-[variant].[ext]— for example,BF-1042-MAIN-BLK.jpgfor a black variant's main image,BF-1042-DETAIL-BLK.jpgfor a close-up. - Establish the convention before the first shoot and enforce it at the point of camera import, not after post-production. Renaming after editing means renaming the processed files as well as the RAW originals.
- The naming convention should also encode the output profile (see Step 5) when images are exported for different platforms —
BF-1042-MAIN-BLK-AMZ.jpgvsBF-1042-MAIN-BLK-ETY.jpg— so export folders never get mixed up before upload.
Step 5: Output Profiles per Marketplace
Different platforms have meaningfully different image specifications, and delivering the wrong dimensions or aspect ratio is the fastest way to get a listing rejected or displayed incorrectly. Maintain a separate Action set — or export preset — for each platform your catalog targets:
- Amazon: minimum 1000px on the longest side (for zoom), recommended 2000×2000px, white background required for main image, JPEG under 10MB.
- Etsy: recommended 2700×2700px square, 72 DPI, JPEG or PNG. Etsy listings support up to 10 images; aspect ratio can vary for non-main images.
- Shopify / DTC: typically 2048×2048px or 2560×2560px, with a consistent aspect ratio across the catalog for clean grid layout.
- Instagram Shopping / Meta: 1080×1080px for feed square, 1080×1350px for portrait format.
Build one Action per platform and store them in a named set. The export step becomes: run the Amazon Action against the approved master, run the Etsy Action, run the Shopify Action — outputs land in correctly named subfolders, ready to upload without any manual resizing. Our e-commerce photo editing service delivers images in pre-specified platform profiles as standard, which eliminates the export step on your end entirely.
Common Batch Editing Bottlenecks
There are tasks that appear batch-able but aren't — at least not without a manual review step:
- Background removal on complex products. AI-powered subject selection has improved dramatically, but fine hair-like details (jewelry chains, fringed fabric, wicker weave), transparent materials (glass, net), and products photographed on non-white backgrounds still produce masks that require hand-editing. Automating this step and skipping review is the single most common source of published images with visible edge artifacts.
- Colour-critical products. Batch exposure sync can drift the colour of products whose accurate representation is legally and commercially important — particularly apparel, paint, and food. Always spot-check a colour-calibrated monitor after any batch colour adjustment.
- Shadows and reflections. Automated shadow generation (drop shadow, reflection) works well for simple products but looks unconvincing on structured or irregular shapes. Shadow work often needs to be done image by image, or at least reviewed per image against a consistent template.
Quality Control Checkpoint
Before any bulk upload, build a mandatory QC checkpoint into the workflow: pull a random sample — roughly 5–10% of the batch — and review each image at full resolution on a colour-calibrated display against the approved master. Check for edge artifacts, colour drift, incorrect crop, wrong dimensions, and SKU filename accuracy. A batch of 500 images where 3% have a visible masking error means 15 live listings with bad images, which is a customer service problem and a conversion problem before it's ever an editing problem.
In-House vs Outsource: The Volume Decision
Batch editing is worth doing in-house when the catalog is small enough that the setup time pays off within the same project. The economics shift at scale:
- Under 100 images per month: in-house workflow with Lightroom presets and a few Actions is usually efficient and cost-effective.
- 100–500 images per month: the efficiency gains from a fully built batch system are significant, but the time cost of building and maintaining that system, reviewing edge cases, and handling exceptions starts to compete with the cost of outsourcing the same volume to a specialist service.
- Over 500 images per month: outsourcing to a service with established production workflows, colour-calibrated output, and a built-in QC process is almost always more cost-effective than in-house processing — especially once the cost of the editor's time, software licences, and hardware is factored in alongside the opportunity cost of that time spent on editing rather than shooting or selling.
For brands approaching or past the 500-image-per-month threshold, our e-commerce photo editing service and background removal service offer production-scale processing with platform-specific output profiles and per-batch QC included. Try 5 images free to see the workflow in practice.
Building the Repeatable System
The goal of a batch editing workflow isn't just to edit faster — it's to build a system that produces consistent output regardless of who runs it or how long after the original shoot. Document every setting, preset, Action, naming convention, and export profile in a single workflow brief that any team member can follow. The system should be able to survive a personnel change without the output quality changing. That's the difference between a batch workflow and a collection of habits that only work when the right person is in the chair.