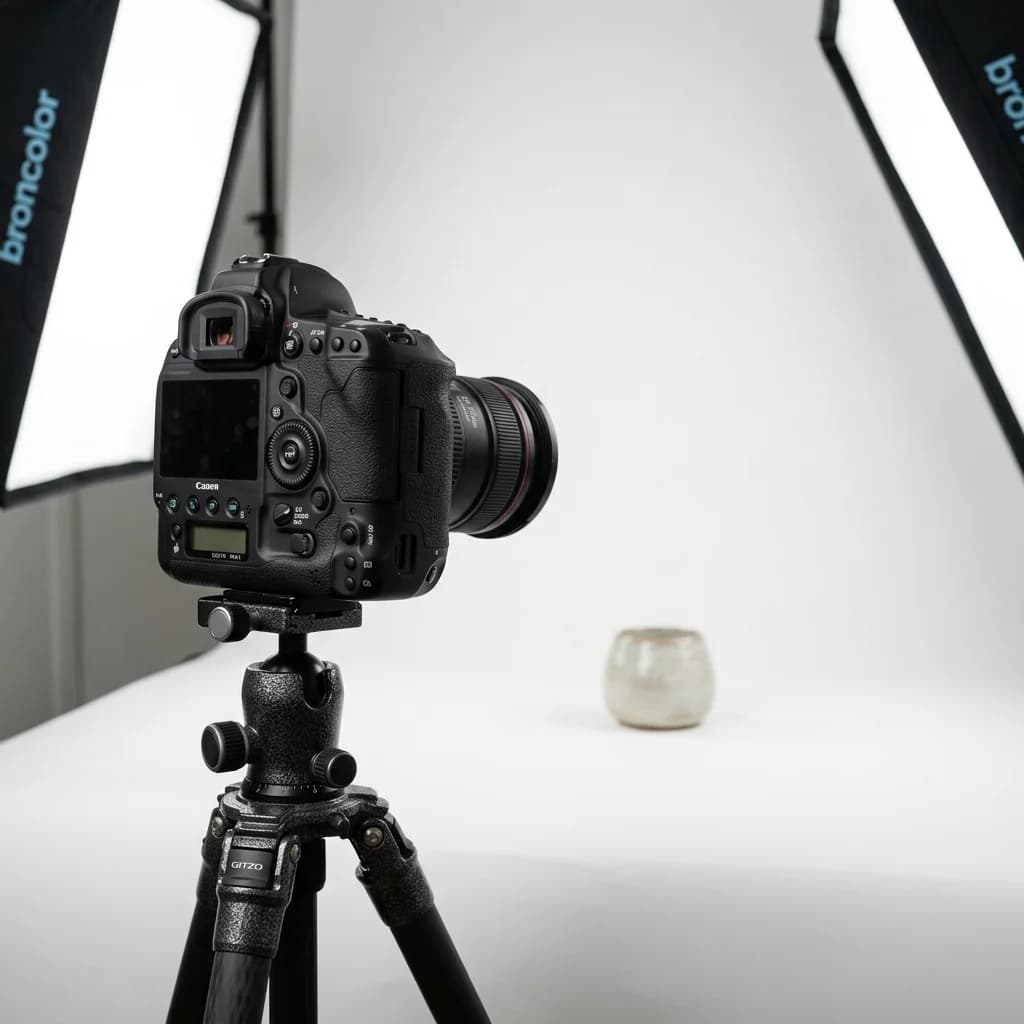
A surprising amount of what makes product photos look amateur or professional comes down to four camera settings, set correctly before the shutter ever fires: aperture, ISO, shutter speed, and white balance. Auto mode gets these roughly right for a snapshot; it gets them wrong often enough for product work that manual control is worth learning even on a basic camera. Here's what to set and why, with specific starting points for different product types.
Shooting Mode: Manual or Aperture Priority, Not Auto
Auto mode optimizes for a generically pleasing photo, which isn't the same goal as a consistent, accurate product photo. It will shift aperture, ISO, and shutter speed shot to shot based on scene reading, which means two photos of the same product in the same lighting can come out looking subtly different — a real problem when a catalog needs every image to match. Manual mode gives full control over all three and is the standard for serious product work; Aperture Priority is a reasonable middle ground if you want the camera to handle shutter speed automatically while you control depth of field, as long as your lighting is consistent enough that exposure won't drift between shots.
Aperture: f/8 to f/11 for Most Products
Aperture controls depth of field — how much of the image front-to-back stays in sharp focus. Wide apertures (f/2.8, f/4) create a shallow depth of field that's flattering for portraits but risky for product work, since part of the product can fall out of focus. Very narrow apertures (f/16, f/22) maximize depth of field but introduce diffraction, a softening effect that actually reduces sharpness at the pixel level on most lenses. The sweet spot for most product photography is f/8 to f/11 — enough depth of field to keep the entire product sharp, without the softness penalty of extreme narrow apertures. Larger or deeper products (furniture, multi-part sets shot at an angle) may need f/11 to f/16 to keep the full depth in focus; small, flat products (jewelry on a flat lay, electronics shot straight-on) can often get away with f/8 or even f/5.6.
ISO: Stay at Base ISO
ISO controls the sensor's sensitivity to light, and every increase above a camera's base ISO (usually 100) introduces more digital noise — a textured, grainy quality that's especially visible in shadow areas and on smooth, solid-color product surfaces where there's nothing to visually mask it. For product photography shot with proper studio lighting, there's rarely a reason to raise ISO above base at all: lighting should be bright enough that base ISO combined with your chosen aperture still allows a reasonable shutter speed. If you're having to raise ISO to get a usable exposure, the real fix is more light, not a higher ISO setting.
The exception is when you must shoot handheld or with only window light, for example on location. In that case, raise ISO in small steps and check the shadows at 100% zoom before going further. Modern cameras handle moderate ISO well, but noise still shows first on dark, plain products.
Shutter Speed: Tripod-Dependent, Flash Sync if Using Strobes
With the camera on a tripod and a stationary product, shutter speed mostly just needs to be fast enough to avoid any residual vibration blur — 1/60s or faster is generally safe on a stable tripod with no wind or vibration sources nearby. If you're shooting with studio strobes rather than continuous light, shutter speed instead needs to match or stay below your camera's flash sync speed (commonly 1/200s or 1/250s, check your camera's specification), since strobe exposure is governed almost entirely by the flash duration and power rather than the shutter speed itself once you're within sync range. Handheld product photography should avoid shutter speeds below roughly 1/125s to minimize hand-shake blur, though a tripod removes this concern entirely and is strongly recommended for any serious product work.
White Balance: Set It Manually, Don't Trust Auto
Auto white balance estimates the color temperature of your light source and can shift noticeably between shots, even under constant lighting — a common cause of product photos in the same series having slightly different color casts that then require extra correction work to match. Set white balance manually to match your actual light source: around 5500K for daylight-balanced studio strobes, or use a gray card and your camera's custom white balance function to set it precisely for whatever light you're actually using. This single setting prevents a significant amount of the color-correction work that otherwise has to happen after the fact — our color correction service fixes exactly this kind of shot-to-shot inconsistency, but getting white balance right at capture avoids needing that fix at all.
Lens Choice: Focal Length Matters More Than You'd Think
Lens settings don't get as much attention as exposure settings, but focal length has a real effect on how a product reads. Wide-angle lenses (under 35mm on a full-frame camera) introduce perspective distortion that's most visible at the edges of the frame — straight lines on a product can appear to bow or converge unnaturally, which is especially noticeable on anything with hard geometric edges like boxes, electronics, or furniture. A moderate telephoto range, roughly 85mm to 105mm on a full-frame camera (or the equivalent on a crop sensor), compresses perspective in a way that reads as more natural and keeps straight edges looking straight, which is why it's the standard recommendation for product and macro work. It also requires standing further back from the product, which has the side benefit of reducing the chance of your own shadow or reflection appearing in the shot — a frequent problem when working close with a wide lens on reflective products. A dedicated macro lens is worth the investment specifically for small, detail-heavy products — jewelry, watch mechanisms, electronics connectors — where true 1:1 magnification captures fine texture and engraving detail that no standard lens can fully resolve, regardless of aperture setting.
File Format: Shoot RAW, Not JPEG
RAW files capture significantly more color and exposure data than JPEG, which compresses and discards information at the moment of capture. That extra data matters enormously for product photography specifically, because it gives far more room to correct white balance, exposure, and color after the fact without visible quality loss — a RAW file can often recover a white balance mistake that would be impossible to fully correct in a JPEG. The only real downside is file size and the need for RAW processing software before final export, which is a small cost for the correction flexibility it buys, especially on any shoot where lighting conditions might shift slightly across a long session.
Settings by Product Type
- Reflective products (jewelry, glossy electronics, chrome): narrower aperture (f/11) for depth of field on small, detailed surfaces; extra attention to light positioning rather than camera settings, since reflections are controlled primarily through lighting and diffusion, not exposure settings.
- Matte fabric and apparel: f/8 is usually sufficient given the more forgiving depth-of-field needs of flat or gently draped fabric; pay close attention to white balance, since fabric color accuracy drives return rates more than almost any other product category.
- Transparent or semi-transparent products (glass, liquids): similar aperture range to reflective products (f/8 to f/11), but exposure often needs to be set slightly brighter than the camera's metering suggests, since transparent subjects can trick a camera's light meter into underexposing the rest of the frame.
- Large or multi-part products (furniture, bundled sets): f/11 to f/16 to hold focus across more physical depth, which may require slightly more light or a longer exposure to compensate for the narrower aperture.
Common Mistakes
- Leaving the camera in Auto mode for a full catalog shoot: inconsistent exposure and white balance between shots creates more correction work later than setting manual values once at the start would have.
- Using a wide aperture for depth-of-field "look" on product shots: a shallow depth of field that looks artistic on a lifestyle shot often reads as a mistake on a straightforward catalog product photo where buyers expect to see the whole item sharp.
- Raising ISO instead of fixing the lighting: noise introduced at high ISO is difficult to remove without softening real product detail, and it's almost always cheaper to add a light than to fight noise in post.
- Trusting Auto White Balance across a multi-hour shoot: ambient light can shift subtly even in a controlled studio as strobes warm up or ambient light changes outside a window — a manual, fixed white balance avoids this drift entirely.
Quick Settings Cheat Sheet
- Mode: Manual (or Aperture Priority with consistent lighting)
- Aperture: f/8–f/11 for most products, f/11–f/16 for deep/large products
- ISO: Base ISO (typically 100), raise only as a last resort
- Shutter speed: 1/60s+ on tripod, at or below flash sync speed with strobes
- White balance: Manual, matched to your light source (~5500K for daylight strobes) or set with a gray card
- File format: RAW, always
Even with perfect camera settings, product photos still need background removal, color correction, and consistency editing before they're marketplace-ready. Our e-commerce photo editing service handles exactly that — send us your RAW captures and we'll deliver clean, consistent, marketplace-ready images. Submit 5 images for a free trial to see what professional editing adds to a well-shot photo.