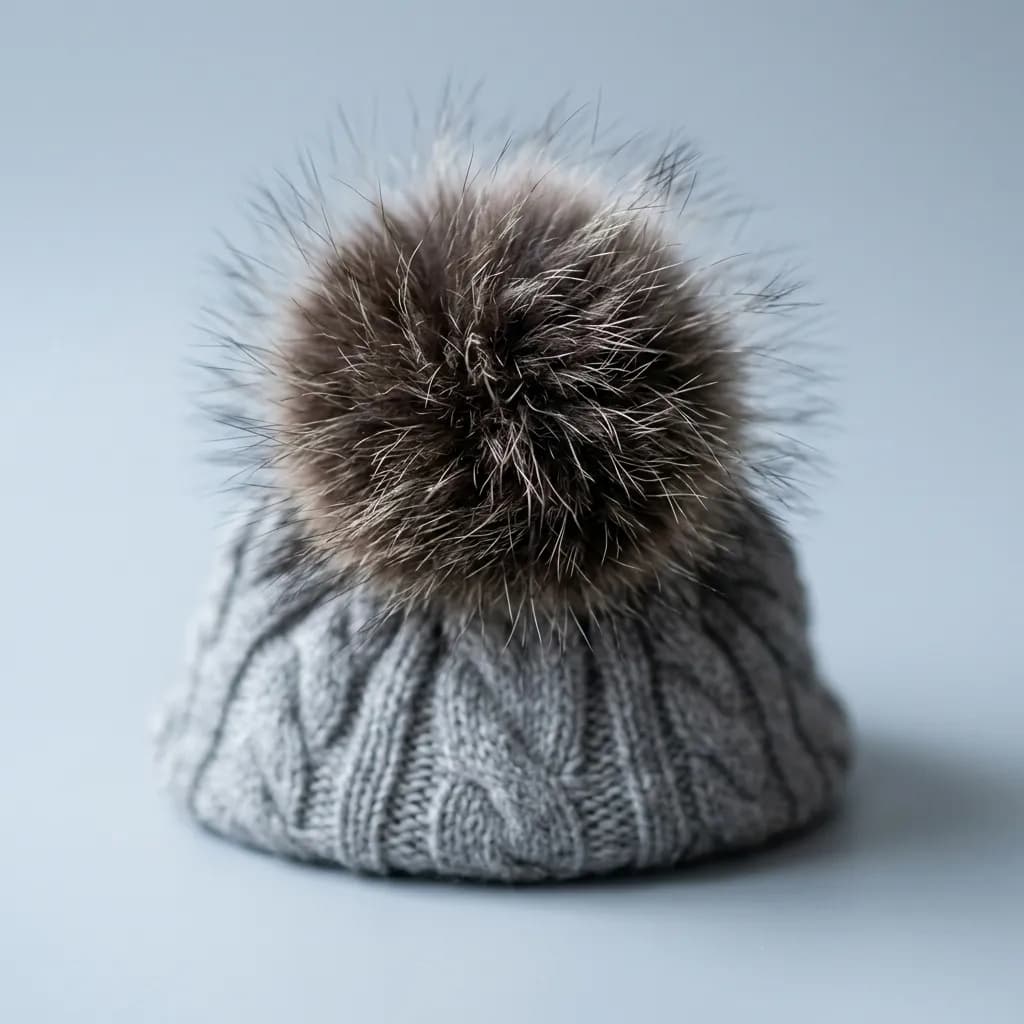
A clipping path draws a hard vector line — great for a bottle, useless for hair. Image masking reads pixel-level luminance instead of tracing an outline, which is the only way to extract hair, fur, glass, or smoke without a fake-looking plastic edge.
A clipping path is a vector outline — a hard, mathematically precise line drawn around a subject's edge. That works perfectly for products with clean, defined boundaries: bottles, boxes, electronics, footwear. It fails completely on anything with soft or complex edges. Hair has hundreds of individual strands, each a few pixels wide. Fur blends into the background gradually rather than stopping at a line. Glass and smoke are semi-transparent, showing whatever is behind them through their own surface. A hard vector path drawn around any of these produces a stiff, plastic-looking cutout — the single fastest way to make a product photo look cheap. Image masking exists to solve exactly this problem.
What Is Image Masking?
Image masking is a non-destructive editing technique that controls the opacity of every pixel in an image individually, using a grayscale map called an alpha channel — often called a bitmap mask. White areas of the mask are fully visible, black areas are fully hidden, and every shade of grey in between represents a specific level of partial transparency. That's the key difference from a clipping path, which only lets a pixel be fully visible or fully removed. A mask lets edges fade, blend, and vary in opacity the way real hair, fur, glass, and smoke actually do — which is why it's the standard tool professional retouchers reach for whenever a subject's edge is too fine, too transparent, or too irregular for a hard vector outline to handle cleanly.
Why a Clipping Path Fails on Soft Edges
A clipping path is binary: a pixel is either inside the path (kept) or outside it (removed). There's no in-between. Hair, fur, and transparency all require an in-between — a strand of hair at the edge of a head is genuinely semi-transparent where individual fine strands mix with the background behind them. Force that into a hard yes/no boundary and you either lose the fine detail entirely (a solid, helmet-like hair silhouette) or leave a visible ring of the original background color trapped around the edge. Neither result looks real.
How Alpha Channel Masking Actually Works
Instead of tracing a vector outline, masking reads the luminance (brightness) values of each pixel near the subject's edge and builds a grayscale map — white where the subject is fully opaque, black where it's fully background, and shades of grey in between representing partial transparency. That grey-scale map, the alpha channel, lets the software blend the subject and any new background proportionally at every edge pixel instead of making a hard cut. A hair strand that's 60% subject and 40% background at a given pixel gets rendered as 60% opacity — which is what makes it look like real hair instead of a cutout.
The Core Techniques
- Refine Edge / Select and Mask: the primary tool for extracting fine detail like hair and fur — it analyzes the edge transition and automatically detects where fine strands separate from the background, producing a much more accurate alpha map than manual selection alone.
- Layer masking: a non-destructive approach where the mask is stored as a separate editable layer rather than baked into the pixels, so the extraction can be refined or the original image recovered at any point without starting over.
- Decontaminate Colors: after masking, edge pixels often still carry a tint from the original background (a green fringe from a green-screen shoot, for example). This step removes that residual color contamination so the edge reads as neutral rather than tinted.
Hair and Fur Masking Specifically
Hair and fur masking is the most commonly requested masking job because it appears constantly in fashion, beauty, and pet product photography. The technical challenge is flyaway strands — individual hairs that separate from the main mass and cross into the background independently, each needing its own accurate transparency value. This is where automated background-removal tools most visibly fail: they either flatten flyaway hair into a solid block or erase it entirely, both of which are immediately obvious to a viewer even if they can't articulate why the image looks slightly wrong. Manual refinement of the alpha map at the hairline is what separates a professional masking job from an automated first pass.
Glass, Smoke, and Transparency Masking
Transparent and semi-transparent subjects — glass bottles, crystal, smoke, sheer fabric, liquids — need the same luminance-based approach as hair, but for a different reason: they're not just soft-edged, they're partially see-through across their entire surface, not just at the boundary. Masking here has to preserve that partial transparency throughout the object, not just at its outer edge, so that whatever new background it's placed on shows through correctly, the way it would through real glass or fabric.
Lighting at the shoot makes a large difference here. Glass and liquids photographed against a plain, evenly lit backdrop give the editor clean transparency information to work with, while busy or unevenly lit backgrounds leave patterns inside the glass that are difficult to remove convincingly. When in doubt, shoot one frame against white and one against black.
Signs of Poorly Executed Masking
- Halo artifacts: a visible glow or ring around the subject's edge, usually light-colored, where the mask didn't fully account for the transition zone.
- Color fringing: a thin line of the original background color (commonly green or blue from a screen shoot) clinging to the edge — the tell-tale sign Decontaminate Colors wasn't properly applied.
- Flattened or missing flyaway hair: fine strands either erased completely or rendered as a solid clump instead of individually varying opacity.
- A "cut-out sticker" look: the overall impression that the subject was pasted onto its background rather than genuinely belonging in the scene — usually the cumulative result of several smaller masking errors rather than one obvious mistake.
How to Brief a Masking Job
- Original background color, if known: flagging that a shot was taken against green screen, white, or a specific color helps a masking artist anticipate and correct for fringing more efficiently.
- Destination background: masking quality is judged against the new background it's placed on — a dark hair mask destined for a white background needs different edge treatment than one destined for a busy lifestyle scene.
- Resolution and intended use: a mask that needs to hold up at large print size requires more careful manual refinement than one destined for a small web thumbnail.
- Flag any transparency that matters: if a product shot includes glass, liquid, or sheer fabric, note it explicitly so the studio applies transparency-preserving masking rather than treating it as a simple hard-edge subject.
Shooting Choices That Make Masking Easier and More Accurate
Masking quality isn't determined only in post-production — decisions made during the shoot directly affect how cleanly a subject can be extracted afterward. A high-contrast background behind hair or fur (a dark subject against a bright background, or vice versa) gives a masking artist far more luminance separation to work with than a background close in tone to the subject itself. A green or blue screen shot with even, flat lighting and no shadow gradient on the backdrop produces a far cleaner alpha channel than a natural or textured backdrop, because the masking software has one consistent background value to key against rather than a range of tones and shadows. For fine hair work specifically, slightly backlighting the subject helps individual flyaway strands separate visually from the background at the moment of capture, which gives the masking process real detail to work with rather than having to guess where hair ends and background begins.
Masking as Part of a Larger Workflow
Masking is rarely the final step — it's usually the first stage in a longer post-production sequence: mask the subject, place it on the new background, then apply color correction, shadow work, and retouching so the composited result reads as a single coherent photograph rather than a cutout pasted onto a backdrop. A mask that's technically accurate but not followed by matching color grading between subject and background will still look artificial, because human perception picks up on lighting and color mismatches even when the edge itself is flawless. Studios that handle masking as one step of an integrated retouching workflow, rather than an isolated task handed off separately, tend to produce more convincing final composites because the masking decisions are made with the final background and lighting already in mind.
When to Use an Image Masking Service
Masking one product photo in-house is manageable. Masking a catalog is a different job: hair, fur, lace and glass edges can take 15 to 45 minutes each to do well, and the work only pays off if every image in a collection is masked to the same standard. An image masking service makes sense when:
- Volume outgrows your team: dozens of model shots or furry products per week, on top of everything else your editors handle.
- Edges are the hard part: flyaway hair, faux fur, mesh, veils, glassware and smoke, where a quick AI cutout leaves halos or chops off detail.
- Consistency matters across a set: every colorway or model shot needs the same edge quality so the product grid looks like one shoot.
- Deadlines are fixed: a launch or marketplace upload date that can't move if your in-house editor is out.
When you compare image masking services, ask for a free test on your three hardest images rather than judging a portfolio, and check the results at 100% zoom against the checklist below. Our image masking service handles hair, fur and transparent products at any volume, and you can test it for free first.
A Quick Quality Checklist Before You Approve a Masked Image
- Zoom into the hairline or fur edge at 100%: individual strands should show varying opacity, not a hard uniform edge.
- Check for any fringe color against the new background: a thin colored line at the edge means Decontaminate Colors wasn't fully applied.
- Place the masked subject on a dark and a light background side by side: a good mask holds up on both; a poor one reveals halo artifacts on one or the other.
- Confirm transparent elements (glass, liquid) still read as transparent on the new background rather than appearing as a flat, opaque cutout.
Our image masking service covers alpha channel masking for hair, fur, glass, smoke, and other complex edges, delivered in 24 hours. Submit 5 images for a free trial to see the edge quality on your own hair, fur, or transparent product shots before committing a full batch.