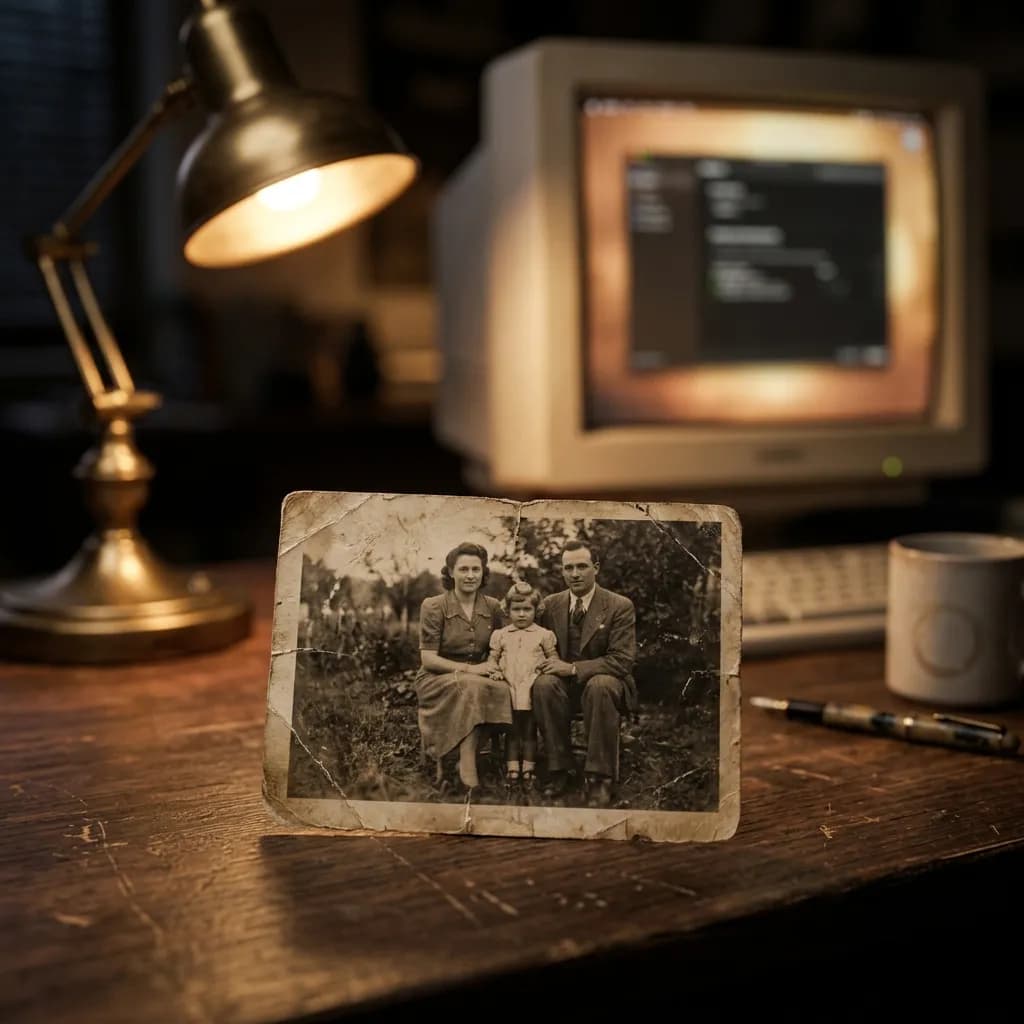
A torn, water-stained, or faded photograph isn't gone — most of what survives can be recovered. Here's what photo restoration actually fixes, how scanning quality determines the result, and where the technique's real limits are.
Old photographs degrade in predictable ways: UV exposure fades color and contrast, moisture warps paper and leaves stains, handling causes creases and tears, and acidic paper stock breaks down chemically over decades. None of that damage means the image is lost — a scan of a damaged print captures whatever detail survives, and restoration is the process of recovering as much of that detail as the surviving material actually contains. This guide covers what restoration can genuinely fix, how it's done, and — just as important — where its real limits are.
Why Brands and Institutions Restore Archive Photography
Restoration isn't only a family-photo service. Heritage brands restore archive product and campaign photography for anniversary marketing, packaging redesigns that reference original branding, and print reissues of historical catalogs. Museums, libraries, and genealogical archives restore damaged prints for digitization and public access. Auction houses and print studios restore vintage photography before reproduction sale. In every case, the same underlying techniques apply — the difference is just the subject matter and the intended use of the recovered image.
What Restoration Can Actually Fix
- Tears and creases: physical damage is cloned out and the surrounding image content is rebuilt seam by seam, so a torn edge or crease line disappears without leaving a visible patch.
- Water and mold stains: water damage typically warps contrast and creates blooming discoloration. Restorers use frequency separation — a technique that splits an image into texture and color/tone layers — to remove the staining on the color layer while preserving the underlying photographic texture and detail on the texture layer, rather than smoothing over the stain and losing the grain and detail beneath it.
- Faded exposure and color shift: decades of UV exposure cause fading and color casts (commonly a magenta or yellow shift in older color prints). Restoration recovers contrast and corrects the color balance back toward what the original exposure likely looked like.
- Missing sections and structural damage: where a tear has actually removed part of the image — a missing corner, a torn-away face — restorers reconstruct the missing area using whatever visual logic and reference material survives in the rest of the photo (symmetry, matching lighting, matching texture from an undamaged twin area).
- Dust, scratches, and surface abrasion: the most minor and least expensive category of damage — small physical marks left by handling and storage over time.
What Restoration Cannot Do
This is the part honest restoration studios are explicit about: restoration works from what the original photograph actually contains, not from imagination. If a face is completely destroyed with no surviving reference — no similar undamaged photo of the same person, no partial detail to extrapolate from — a restorer cannot invent an accurate likeness. What can be done in that case is a best-effort reconstruction based on available context (a family member's resemblance, a similar photo from the same era), but the client should understand that's an educated approximation, not a recovery of lost fact. Any reputable studio will tell you this directly rather than quietly generating a face and presenting it as restored truth.
Frequency Separation: The Core Technique for Stain Removal
Frequency separation deserves a closer look because it's the single most important technique in restoration work. An image is split into two layers: a low-frequency layer containing color and tonal information, and a high-frequency layer containing fine texture and detail (grain, fabric weave, skin texture). Stains, discoloration, and mold blooms live primarily in the low-frequency layer — they're changes in color and tone, not in fine texture. By correcting the stain on the low-frequency layer while leaving the high-frequency detail layer untouched, a restorer removes the visible damage without softening or destroying the photographic grain and detail underneath it. This is what separates professional restoration from a simple blur-and-patch fix, which erases both the damage and the real detail along with it.
Black & White Colorization
Colorizing a black-and-white archive photo isn't guesswork — accurate colorization relies on historical referencing. Military uniforms have documented, era-specific colors. Period clothing, vehicle paint, and building materials all have researchable color references. Skin tones are mapped using standard biometric ranges combined with any available context about the subject. When a client knows specific details (a uniform's exact branch color, a car's factory paint code), providing that reference dramatically improves accuracy over an educated guess — brief this explicitly whenever the detail is known rather than assuming the restorer can research it independently.
How Scan Quality Determines the Result
Restoration quality is capped by scan quality — a restorer can't recover detail that was never captured in the digital file. Best practice for source scans:
- Use a flatbed scanner, not a phone camera, for even, distortion-free capture of the print surface.
- Scan at minimum 600 DPI, even for black-and-white originals — higher resolution captures more of the surviving grain and fine detail that restoration techniques depend on.
- Save as uncompressed TIFF or maximum-quality JPEG, never a heavily compressed format that introduces its own artifacts on top of the physical damage.
- Scan in full color even for black-and-white photos — a color scan captures subtle tonal information and staining detail a grayscale scan discards.
- Scan torn photos as complete as possible, laying all fragments together on the scanner bed in their correct relative position, rather than scanning pieces separately.
Common Use Cases for Brands and Institutions
- Anniversary and heritage marketing campaigns: a brand's founding-era photography restored for use in "since 19XX" campaign material, where the authenticity of the original image carries real marketing weight.
- Packaging and catalog reissues: historical product photography restored for reprints, retrospective catalogs, or archival reference during a rebrand.
- Museum and library digitization: restoring damaged prints for public digital archives, where the goal is faithful recovery rather than creative enhancement.
- Genealogical and family archive projects: restoring inherited photographs for reproduction, framing, or family history documentation.
How to Brief a Restoration Job
- Send the highest-quality scan you can produce — see the scanning guidance above. A better source scan produces a meaningfully better result than any amount of skilled restoration work on a poor scan.
- Flag anything you know about the subject: exact colors, dates, names, uniform branches, or any detail that can inform an accurate reconstruction rather than an educated guess.
- Clarify intended use and output size: a restoration destined for large-format print reproduction needs a different resolution approach than one destined for a website or social post.
- Ask directly what the studio can and can't recover: a studio that gives you a clear, honest assessment of severely damaged sections before starting is more trustworthy than one that promises full recovery of anything.
Turnaround and Batch Considerations for Larger Archives
A single restored image can take anywhere from a couple of hours for minor dust cleanup to a full day or more for extreme reconstruction of a severely damaged print. For institutions digitizing a larger archive — a museum collection, a brand's historical catalog, a genealogical family archive spanning generations — it's worth triaging the collection before sending everything for full restoration. Sort images into rough damage tiers first (minor cleanup, standard repair, extreme reconstruction) so budget and turnaround can be planned realistically rather than treating every image as if it needs the heaviest level of work. Studios that quote restoration individually per image, rather than a single flat rate for an entire batch, are pricing the actual damage present rather than averaging cost across images that don't need the same amount of work.
Handling and Storing the Originals
Digital restoration does not replace the original print, which is often the only physical record. Handle it with care before and after scanning:
- Hold prints by the edges with clean, dry hands, or wear cotton or nitrile gloves.
- Never repair tears with sticky tape. The adhesive yellows, stains and is very hard to remove later.
- Do not force a curled or brittle print flat. Scan it as it is, or ask a conservator for advice first.
- Store originals in acid-free sleeves or boxes, somewhere cool, dry and dark, away from attics, basements and direct sunlight.
Keep the original even after restoration. Better scanning or restoration techniques may become available later, and the original remains the reference for what is real.
Rights and Permissions for Archive Images
Restoring a photograph does not change who owns it. Before using restored archive images in marketing, packaging or products, check who holds the copyright, which is often the original photographer, their estate or an agency rather than the person who owns the print. Images held by museums and libraries usually come with their own usage terms. If identifiable people appear in an image used for commercial purposes, consider whether consent or a release is needed. For your own company's archive the answer is usually straightforward, but it is worth confirming before a campaign rather than after.
A Quick Quality Checklist Before You Approve a Restoration
- Zoom into repaired tear and crease lines: confirm the surrounding texture and detail blend seamlessly rather than showing a smoothed, patched look.
- Check that fine grain and texture survived stain removal: the restored area should still show photographic grain, not a flat, over-smoothed patch where a stain used to be.
- Confirm colorization matches any known reference details: if you provided specific color information, verify it was actually applied correctly.
- Ask what was reconstructed versus recovered: for any section with significant missing detail, confirm you understand which parts are a faithful recovery and which are an educated reconstruction.
Our photo restoration service covers tear and crease repair, water and mold stain removal, missing-section reconstruction, and historically-referenced colorization, delivered in 48–72 hours. Every restoration is quoted individually — send us your scan and we'll assess it for free before you commit.