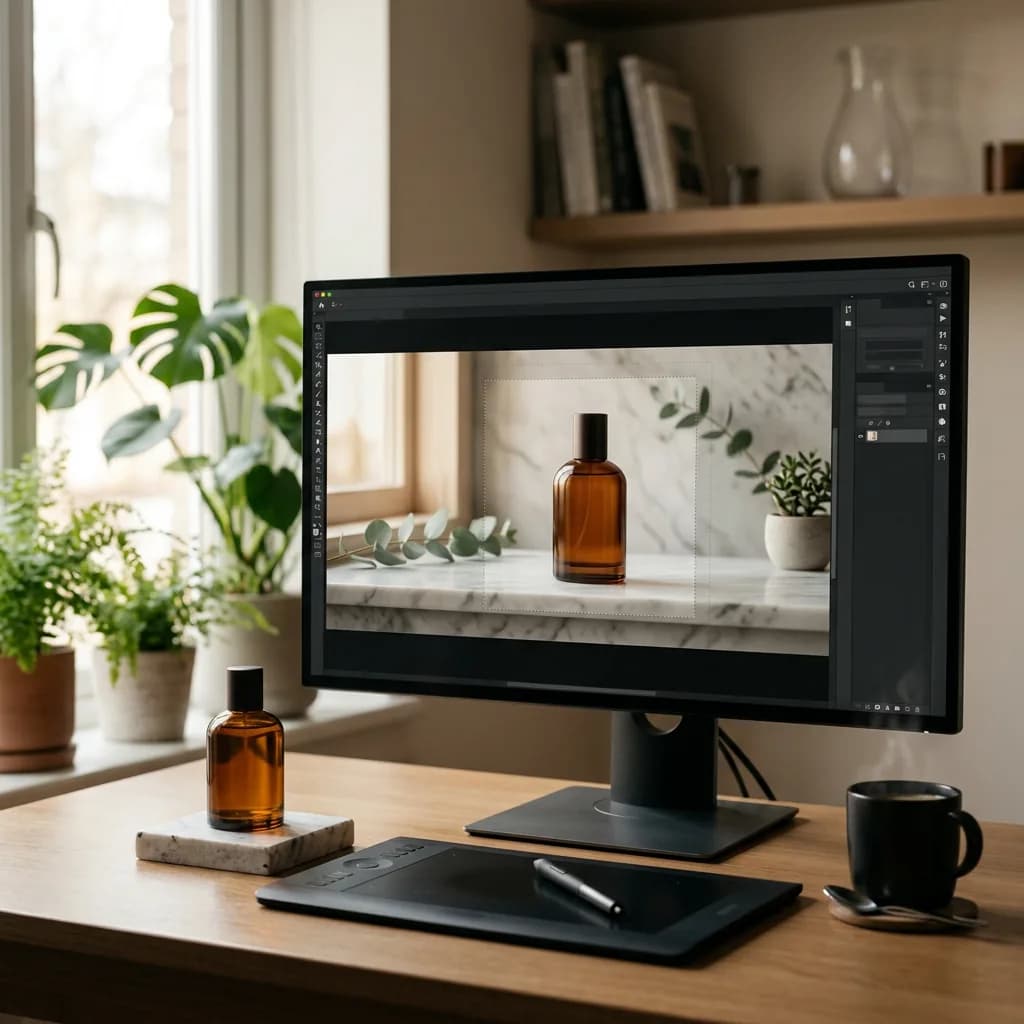
Generative Fill can extend a background, remove a prop or build a lifestyle scene in seconds. It can also quietly change a label, invent a detail or produce a background that doesn't match your next ten images. Here's what it's genuinely good for in product photography, where it fails, and how to use it safely.
Photoshop's Generative Fill has become one of the most used AI features in photo editing: select an area, type what you want or leave the box blank, and Adobe's AI paints it in. For product photography, that sounds like a shortcut to everything, from extending a background to a marketplace's required ratio to building a whole lifestyle scene. Used in the right places, it really does save hours. Used in the wrong places, it changes the very thing you're selling. This guide explains what Generative Fill is, what's changed in 2026, where it helps product photos, where it can't be trusted, and a workflow that keeps your product accurate.
What Is Generative Fill?
Generative Fill is a Photoshop feature powered by Adobe's Firefly AI models. You make a selection, optionally describe what should appear there, and Photoshop generates new content that blends with the surrounding image. It works alongside two related tools:
- Generative Expand: extends the canvas beyond the original frame and fills the new area to match, using the Crop tool.
- Remove tool: erases distractions by brushing over them, letting the AI rebuild what's behind.
Every Generative Fill result lands on its own Generative Layer with a mask, and Photoshop offers three variations to choose from. Your original pixels stay untouched underneath, which makes it non-destructive by design.
What's New in 2026
Generative Fill has changed considerably since its launch, and several updates matter for product work:
- Higher resolution: Adobe's January 2026 release made 2K output generally available for Generative Fill, Generative Expand and the Remove tool. Earlier models generated at around 1024 pixels, which often looked soft next to a sharp product shot.
- Reference Image: you can guide a fill with an uploaded image so the result matches its lighting, color and perspective, instead of relying on a text prompt alone.
- A model picker: besides Adobe's own Firefly models, Photoshop now lets you choose partner models from companies such as Google and Black Forest Labs. Firefly remains the default, and partner models use additional generative credits, so check Adobe's current credit terms before you rely on them for volume work.
How to Use Generative Fill on a Product Photo
- Protect the product first. Select the product (Select › Subject, or a Pen Tool path for hard edges) and save the selection. You'll use it to keep the AI away from the product itself.
- Select only the area to change. Load the product selection, invert it, and then subtract anything you want to keep. Leave a small gap of a few pixels around the product so the AI doesn't repaint its edge.
- Click Generative Fill in the Contextual Task Bar or choose Edit › Generative Fill.
- Write a short prompt describing the scene, not the product: for example "light oak tabletop, soft window light from the left." Leave it blank to simply remove or fill with surrounding content.
- Compare the three variations and generate more if none fit. Check each at 100% zoom.
- Refine: paint on the Generative Layer's mask to blend edges, and add a realistic shadow on its own layer if the product now looks like it's floating.
What Generative Fill Does Well for Product Photos
- Extending the canvas: turning a tightly cropped shot into a square marketplace image, a wide website banner or a tall social story without reshooting. This is Generative Expand's strongest use.
- Cleaning up the set: removing stands, clamps, tape, dust on the backdrop, cables and other things that crept into the frame.
- Building lifestyle scenes: placing a product on a kitchen counter, a desk or a bathroom shelf for secondary images and ads. We cover this in more depth in our guide to AI background scene generation.
- Seasonal variations: adding a holiday table setting or autumn leaves around an existing shot for a campaign.
- Filling gaps: rebuilding corners after a rotation or a perspective correction.
What It Can't (or Shouldn't) Fix
The rule that matters most: never let the AI touch the product itself. Generative Fill invents pixels that look plausible, not pixels that are accurate. On the product, that causes real problems:
- Labels, text and logos: AI-generated lettering is often subtly wrong. A misspelled ingredient list or a distorted logo is a returns and compliance risk.
- Product details: stitching, buttons, prongs on a ring, the number of holes on a buckle. The AI may "improve" them into something your customer won't receive.
- Exact color: generated areas don't follow a color reference. Color accuracy needs controlled correction, not generation.
- Resolution and sharpness: even at 2K, generated areas can look softer than a high-resolution product shot, especially when customers zoom in.
- Consistency across a set: each generation is different. Twenty products need twenty matching backgrounds and shadows, which is hard to get from a random process.
- Physical realism: shadows, reflections and perspective in generated scenes often don't match how the product was actually lit.
Marketplace Rules and Honest Imagery
Marketplaces don't object to edited images, but they do object to misleading ones. Main images on Amazon and most platforms must show the actual product accurately, typically on pure white, without props or added scenes. Generative Fill is therefore best kept to secondary images, ads and social content. Some platforms also have rules about AI-generated content, as we explain in our TikTok Shop image requirements guide.
On commercial use, Adobe states that its Firefly models are trained on licensed and public-domain content and are designed to be commercially safe, and Photoshop can attach Content Credentials that record AI edits. Partner models come with their own terms, so if commercial safety matters to your brand, stay with Firefly or check the terms of the model you choose.
Generative Fill vs the Remove Tool vs Manual Retouching
| Task | Best tool | Why |
|---|
| Extend background to a new ratio | Generative Expand | Fast and usually seamless on simple backdrops |
| Remove a stand, clamp or cable | Remove tool, then manual check | Quicker and more predictable than a full fill |
| Lifestyle scene for an ad | Generative Fill with Reference Image | Matches light and perspective to a reference |
| Dust and scratches on the product | Manual retouching (Healing, Clone Stamp) | Keeps the real surface texture and detail |
| Label, logo or text fixes | Manual retouching | AI lettering is unreliable |
| Color correction to a sample | Adjustment layers | Measurable and repeatable |
Prompt Tips That Work for Product Scenes
- Describe the surroundings, not the product: "white marble countertop, blurred kitchen behind" works better than repeating what the product is.
- Keep prompts short and concrete: materials, light direction and setting. Long, stylistic prompts tend to produce busier, less believable scenes.
- Leave the prompt empty for removals: a blank prompt fills the area with content that matches its surroundings.
- Use a Reference Image for consistency: reusing the same reference across a set helps backgrounds look related, though not identical.
- Generate on a copy: keep the untouched original layer so you can compare and roll back.
Common Generative Fill Problems and How to Fix Them
- The filled area looks blurry: fill smaller selections rather than one huge area, and make sure you're using a model that outputs at 2K. For large areas, generate in sections and blend them with the mask.
- A visible seam around the fill: extend the selection slightly into the existing background so the AI has more context to blend, then soften the transition by painting on the Generative Layer mask.
- The light doesn't match: mention the light direction in the prompt, use a Reference Image shot in similar light, or correct the generated layer with a Curves adjustment clipped to it.
- Repeating or odd patterns: regenerate, or select a slightly different area. Patterned surfaces such as tiles and fabric are where artifacts show up most often.
- The product edge gets repainted: your selection overlapped the product. Reload the saved product selection, contract it by a few pixels, and subtract it from the fill area before generating again.
- A prompt is refused: Adobe's content rules block some words and subjects. Rephrase with neutral, descriptive terms.
A Safe Workflow for Product Teams
- Cut out the product cleanly first, with a mask or path. See our guide on how to remove a background in Photoshop.
- Generate only outside the product mask.
- Rebuild the shadow and check that light direction matches.
- Check the product at 100% against the original: labels, details and color must be unchanged.
- Use AI scenes for secondary images and ads, and keep a clean, accurate white-background main image.
Will Generative Fill Replace Retouchers?
For backgrounds and set cleanup, it has already replaced a lot of slow, repetitive work, and that's a good thing. For the product itself, it hasn't, because a product image is a promise to the customer: the color, the label and the details have to be true. That part still needs a retoucher's judgment, as we discuss in AI vs human photo retouching. Interestingly, it's also one of the features free Photoshop alternatives don't have yet, as we noted in our PhotoCraft vs Photoshop review.
When to Hand It Off
A single Generative Fill takes seconds. A catalog of consistent, accurate images, with matching scenes, real shadows and untouched product detail, takes a careful workflow and a lot of checking. Our image manipulation service combines AI scene work with manual retouching, and our e-commerce photo editing service keeps every product true to the original. Start a free trial to see the difference on your own images.