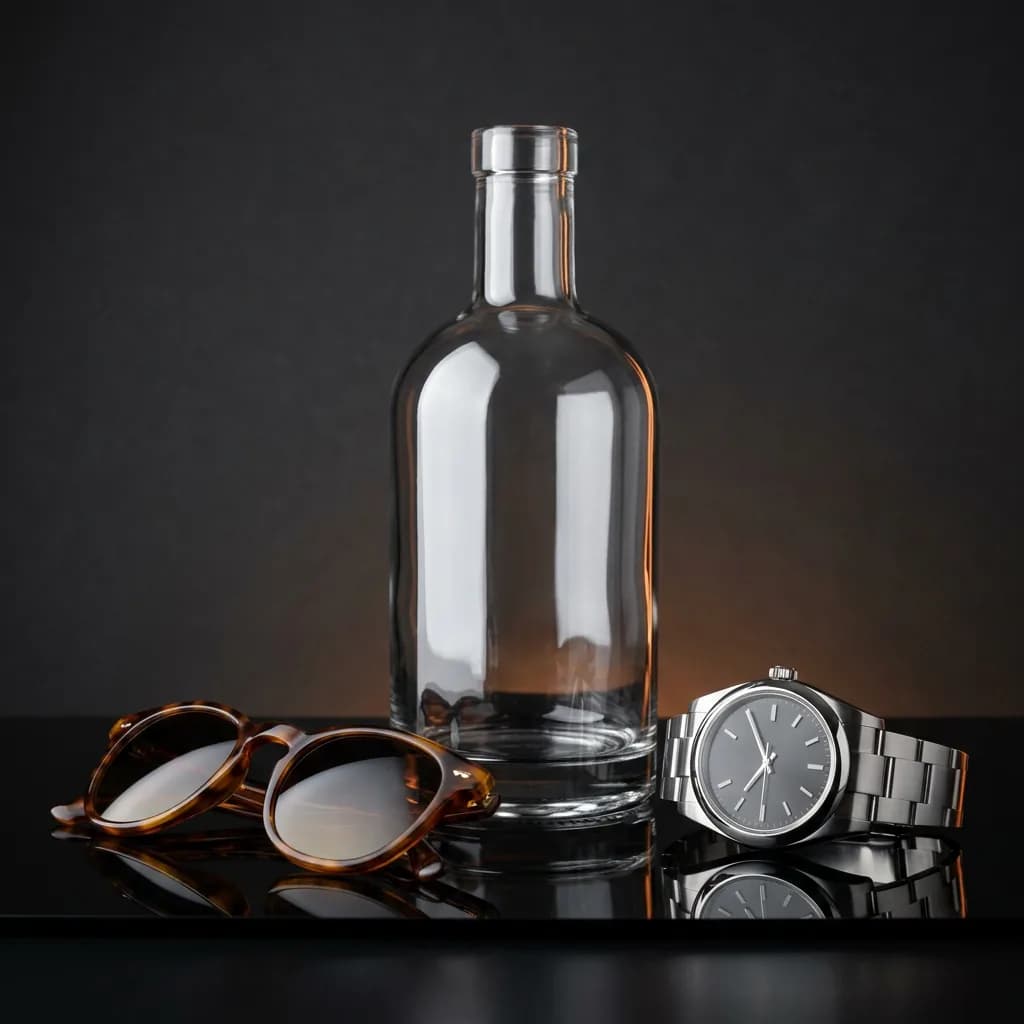
Shiny products reflect everything: softboxes, the camera, the photographer, the room. Here's how to remove distracting reflections in Photoshop on glass, jewelry, metal and eyewear, which reflections you should keep, and how professionals rebuild clean, controlled highlights instead of leaving products flat.
Glass, polished metal, jewelry, sunglasses, glossy packaging and electronics all have one thing in common: they behave like mirrors. Whatever surrounds them during the shoot, from the softbox and the camera to the photographer's shirt and the studio ceiling, can end up on the product. Some of those reflections are essential, because they show the customer that a surface is shiny and give the product its shape. Others are pure distraction. This guide covers how to tell the difference, what to fix before you press the shutter, and the Photoshop techniques retouchers use to remove unwanted reflections and replace them with clean, controlled highlights.
Not All Reflections Should Go
The most common mistake with reflective products is removing every reflection. A wine glass with no highlights looks like flat grey plastic. A ring with no reflections looks like a dull piece of clay. Before you start, sort what you see into two groups:
- Keep: clean highlights and edge lines that describe the product's shape, such as the bright line down the side of a bottle, the gradient along a watch case, or the dark outline that defines the edge of a glass.
- Remove: anything that tells a story about the studio rather than the product: the camera and tripod, the photographer, windows, lighting stands, ceiling lights, colored objects, and messy or broken highlights.
The goal is not a reflection-free product. It's a product with deliberate, clean reflections that look the same across every image in a set.
Fix It in Camera First
Every reflection you prevent during the shoot is one you don't have to retouch. A few techniques save hours later:
- Use a light tent or large diffusion: surrounding the product with even white surfaces turns harsh, detailed reflections into soft, clean gradients.
- Hide the camera: shoot through a hole in a white card or the tent so the product reflects white instead of the lens and tripod.
- Use flags for glass edges: black cards just outside the frame create the dark edge lines that make clear glass readable on a white background. White cards do the opposite on dark backgrounds.
- Try a polarizing filter: a polarizer can cut reflections on non-metallic surfaces such as glass, water and glossy packaging, especially at an angle. It has much less effect on bare metal, so it won't fix jewelry or chrome on its own.
- Change the angle slightly: tilting the product or camera a few degrees often moves a reflection off the important area entirely.
- Shoot a "clean plate" frame: for eyewear, an extra frame with the lenses removed or the glasses lifted gives you clean background detail to composite later.
Method 1: The Remove Tool and Spot Healing for Small Reflections
For small, isolated reflections, such as a speck of light on a bottle cap or a tiny window reflection on a phone screen, start with Photoshop's automatic tools.
- Create a new empty layer above the product so your fixes stay separate.
- Select the Remove tool or the Spot Healing Brush, and set it to sample all layers (tick Sample All Layers).
- Brush over the reflection in one stroke, slightly larger than the reflection itself.
- Check the result at 100%. If the fill looks smeared or picks up the wrong texture, undo and use Method 2.
Works well on: small reflections on fairly uniform surfaces. Struggles with: reflections that cross an edge, a highlight or a pattern, where the automatic fill tends to blur detail.
Method 2: Clone Stamp and Healing Brush for Controlled Repairs
When a reflection sits on detail, such as engraved metal, a printed label behind glass or a textured surface, you need manual control.
- Add a new empty layer and set the Clone Stamp or Healing Brush to sample Current & Below.
- Alt-click / Option-click a clean area with the same tone and direction as the area you're repairing. On curved surfaces, sample from the same part of the curve so the gradient matches.
- Work in short strokes with a soft brush, resampling often to avoid visible repeated patterns.
- Use the Healing Brush where texture matters and the Clone Stamp near hard edges, where healing tends to blend in unwanted color.
The Patch tool is a useful middle ground for larger areas: draw around the reflection, then drag the selection onto a clean area to borrow its texture.
Method 3: Rebuild Clean Highlights
On glass and polished metal, removing a messy reflection often leaves a flat, dead area. Professionals replace it with a clean, controlled highlight, much like a perfect studio light would have produced.
- First remove or tone down the messy reflection with Methods 1 and 2.
- Make a selection that follows the product's shape where the highlight should sit, such as a strip down the side of a bottle, using the Pen Tool for smooth curves.
- On a new layer, fill the selection with a white-to-transparent gradient, or paint with a large soft white brush.
- Set the layer's blend mode to Screen or Soft Light and lower the opacity until the highlight looks natural.
- Add a slight blur (Filter › Blur › Gaussian Blur) so the highlight's edge matches the softness of the rest of the image.
Using the same highlight shape, position and opacity on every product in a series is what makes a catalog of bottles or watches look like one consistent shoot.
Method 4: Composite Multiple Exposures
For high-end work, studios often shoot the same product several times with the lights in different positions, so each frame has clean reflections in a different area. In Photoshop:
- Load the frames as layers (File › Scripts › Load Files into Stack, and tick "Attempt to Automatically Align Source Images" if anything moved).
- Choose the frame with the best overall look as the base.
- Add a black (hide-all) layer mask to each other frame and paint with white only where that frame's reflections are better.
This produces natural, physically correct reflections everywhere, which is why it's standard for jewelry and watch advertising. It's the same principle as focus stacking for jewelry, applied to light instead of focus.
Glass and Transparent Products
Clear glass is a special case because it shows both its own reflections and whatever is behind it. A few rules for bottles, jars and glassware:
- Protect the edge lines: the thin dark or light outlines are what make clear glass visible. Retouch around them, never through them.
- Remove what shows through: background seams, table edges and the base of a stand are often visible through liquid and glass, and need careful cloning.
- Keep the transparency honest when cutting out: a hard cutout makes glass look solid. Preserve partial transparency with masks, as explained in our image masking guide.
- Keep labels sharp: clean reflections off the label area with extra care, since blurred lettering is the first thing customers notice.
Jewelry and Polished Metal
Metal reflects its environment almost perfectly, so jewelry and watches show every softbox, card and fingerprint. Typical retouching steps include removing dust and scratches, evening out patchy reflections on flat surfaces, rebuilding gradients on curved bands and cases, and making sure gold looks warm and silver looks neutral rather than picking up color from nearby objects. Our jewelry retouching guide covers this in detail.
Eyewear and Screens
- Lens glare: select the lens with the Pen Tool, then reduce glare with a Curves adjustment masked to the lens, or composite clean detail from a frame shot with the lenses removed.
- Tinted lenses: keep the tint even across both lenses. Glare removal often leaves one lens lighter than the other.
- Phone and laptop screens: reflections on a black screen are usually easiest to fix by selecting the screen and filling it with a clean gradient or the intended screen image.
A Word on Generative Fill
It's tempting to select a reflection and let AI fill it in. On backgrounds that works well, but on the product itself it can change engraving, lettering, stone settings and edge lines. Use it with care and check the result at 100%, as explained in our guide to Photoshop Generative Fill for product photos.
A Quick Final Check
- View the image at 100% and at the size shoppers see it in a product grid. Both need to look clean.
- Flip between the original and your retouch. Highlights should be cleaner, not missing.
- Compare with the other images in the set: highlight shapes, brightness and edge lines should match.
- Check labels, engraving and stone settings letter by letter and prong by prong.
Common Mistakes to Avoid
- Removing every reflection: the product turns flat and loses its material.
- Visible clone patterns: repeated blotches show that an area was copied. Resample often and vary brush size.
- Mismatched highlights across a set: twenty bottles with twenty different highlight shapes look like twenty different shoots.
- Leaving the photographer in the shot: check curved surfaces such as spoons, watch crystals and bottle shoulders, where tiny reflections of people and cameras hide.
- Destroying edge definition on glass: without its edge lines, clear glass disappears into a white background.
When to Outsource Reflection Retouching
Reflection work is some of the slowest retouching there is: a single piece of jewelry or a glass bottle can take far longer than a simple background removal, and a whole collection needs every highlight to match. Our jewelry retouching service and product retouching service handle glass, metal and eyewear with consistent, natural highlights across every image. Start a free trial and send us your most reflective product.